
 Log in
Brewing Coffee with a Percolator
If you love classic ways to make coffee, learning how to make coffee in a percolator could be great for you. This old-fashioned method is more than just making coffee; it’s about enjoying how you make it. When you percolate coffee, you let water flow through the coffee grounds to pull out deep flavors and smells, making each morning a bit more special. Whether you want to follow an old family tradition or just take your time with your coffee, using a percolator might become your favorite way to brew.
What is a Coffee Percolator?
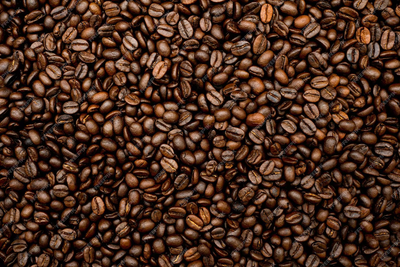
A coffee percolator is a type of pot used for brewing coffee. It works differently than drip coffee makers or French presses. In a percolator, water heats up in the bottom of the pot and then travels up a small tube. From there, the hot water sprinkles over the coffee grounds, soaking them and dripping back down into the main pot. This process repeats several times, which helps to extract strong flavors and aromas from the coffee. Percolators are great for making multiple cups of coffee at once and can create a richer, fuller taste than some other methods.
Types of Coffee Percolators
When choosing a coffee percolator, you generally have two types to consider: electric coffee percolator and stovetop coffee percolator. Both styles have their own benefits depending on your coffee-making preferences and lifestyle. Let's explore what each type offers to help you decide which might be the best fit for you.
|
Type |
Features |
Advantages |
Ideal For |
|
Electric Coffee Percolator |
Automated brewing process; can include features like keep-warm settings and programmable timers. |
Convenience with minimal effort; consistent results; perfect for maintaining coffee temperature. |
Busy households, offices, those who value convenience. |
|
Stovetop Coffee Percolator |
Requires a heat source (usually a stove); manual monitoring during brewing. |
Full control over brewing strength and duration; portable; enhances flavor through hands-on brewing. |
Camping, outdoor activities, traditionalists who enjoy the brewing process. |
How Does a Coffee Percolator Work?
Understanding how to make coffee in a percolator involves knowing how the device works. Let's explore the unique process behind this brewing method-
Starting the Process: Begin by filling the lower chamber of your stovetop coffee percolator or electric coffee percolator with water. This water is the foundation of your coffee brewing.
- The Journey Upward: As the percolator heats, water is forced up through a central tube, a key mechanism in how coffee percolators work. This tube, crucial for the percolation process, carries the hot water up towards the coffee grounds.
- Saturating the Coffee: The hot water reaches the top where it sprinkles over the coffee grounds situated in a basket. This basket has tiny holes, allowing the water to flow through the coffee, thereby perculating coffee and capturing its essence in the form of a rich brew.
- Recycling the Water: After passing through the coffee grounds, the water, now a light coffee brew, drips back into the bottom of the percolator. The process repeats, enhancing the brew with each cycle, typical of percolator coffee brewing methods.
- Completing the Brew: The cycle continues until the coffee reaches the desired strength. In electric coffee percolators, the process may stop automatically. However, with a stovetop coffee percolator, you might need to judge the timing based on the bubbling sound.
Understanding the inner workings of a percolator allows you to appreciate the deep, rich coffee it can produce. Whether you’re using a stovetop model or an electric one, brewing with a percolator can be a delightful experience. For an exceptional taste, try using Presto Coffee with your percolator to enjoy a brew that's as flavorful as it is aromatic.
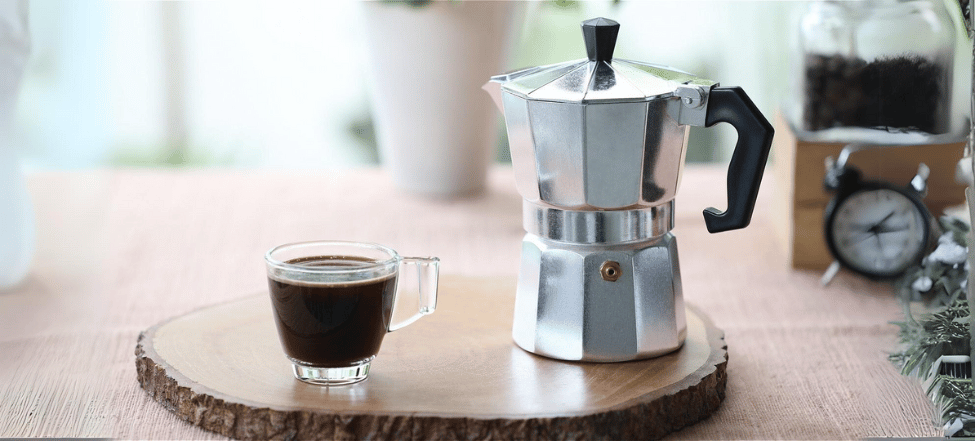
Step-by-Step Guide to Using a Stovetop Coffee Percolator
For those new to this method, here’s a detailed guide on how to make coffee in a percolator, specifically focusing on the stovetop model. This method allows for full control over the strength and flavor of your brew. If you're ready to enjoy a hands-on coffee-making experience, here's how to use a stovetop percolator effectively:
- Prepare Your Percolator: Start by disassembling the percolator to ensure all parts are clean. This includes the pot, lid, basket, and tube. Once everything is clean, reassemble without adding the coffee just yet.
- Add Water: Fill the percolator’s lower chamber with fresh, cold water up to the level just below the basket’s bottom. This prevents the brewing coffee from becoming too watery.
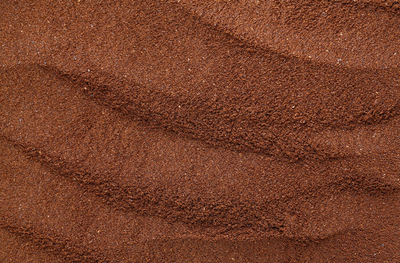
- Add Coffee Grounds: Insert the filter basket and add coarsely ground coffee. A good rule of thumb is about one tablespoon of coffee per cup of water, but you can adjust this according to how strong you like your coffee.
- Assemble and Heat: Place the basket and tube assembly back into the percolator. Secure the lid and place the percolator on your stovetop. Set the burner to a medium heat to start the percolation process.
- Watch the Percolation: As the water in the bottom chamber heats, it will begin to percolate up into the tube and over the coffee grounds. You should see the coffee begin to bubble up into the glass knob on the lid. Once this happens, reduce the heat to low and let it brew for about 7 to 10 minutes.
- End the Process: Once your coffee reaches the desired strength, remove the percolator from the heat. Be careful, as the unit will be hot. Let it sit for a minute to allow the grounds to settle.
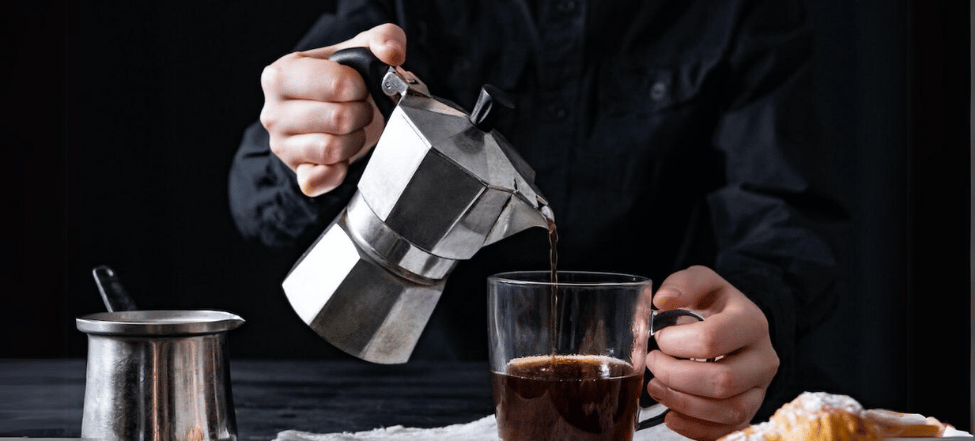
- Serve and Enjoy: Carefully pour the freshly brewed coffee into cups, avoiding any stray grounds that might have escaped the basket. Enjoy the rich and robust flavor that only a stovetop coffee percolator can provide.
How to Operate an Electric Coffee Percolator
Using an electric coffee percolator is a convenient way to brew coffee that combines traditional percolating techniques with modern convenience. Let’s go through the steps to operate an electric percolator effectively:
- Setup Your Machine: Start by ensuring your electric coffee percolator is clean and all parts are securely assembled. This includes the coffee basket, tube, and lid, which should all be in place to prevent any coffee mishaps.
- Measure and Add Ingredients: Pour fresh, cold water into the percolator's reservoir. Use about one tablespoon of coarsely Ground Coffee per cup, or adjust based on your preferred strength. This step is crucial for achieving the perfect percolator coffee.
- Choose Your Settings: Many electric coffee percolators come with customizable settings that allow you to control the brewing strength and temperature. Select your desired settings before starting the brew to ensure your coffee is made just the way you like it.
- Begin Brewing: Plug in the percolator and press the start button. The machine will heat the water and begin the coffee percolating process, which involves cycling the hot water over the grounds multiple times. This enhances the extraction of flavors and aromas, making for a deeply satisfying cup.
- End and Serve: Most models will automatically stop brewing and switch to a 'keep warm' mode once the coffee is ready. Safely unplug the percolator, and let it sit for a minute before serving to allow any residual coffee to filter through.
Brewing the Perfect Cup: Tips and Tricks
Mastering the perfect cup with a coffee percolator combines tradition with technique. Whether you're using an electric coffee percolator or a stovetop coffee percolator, the right approach can elevate your coffee experience. Follow these essential tips to enhance every brew.
- Water Temperature: To make a perfect percolator coffee, ensure the water is just below boiling when it touches the coffee grounds. For stovetop coffee percolators, this means removing the pot just before it starts to whistle; for electric models, the machine will generally handle this for you.
- Coffee-to-Water Ratio: A standard measure is one tablespoon of coffee per eight ounces of water, but you can adjust this depending on how strong you like your coffee. This is crucial in making coffee in a percolator, where the water passes through the grounds multiple times, enhancing the strength and flavor.
- Brewing Time: The length of time water is in contact with the coffee grounds significantly affects the taste. Generally, perculating coffee should take about 7 to 10 minutes. Watching the brew cycle can help you judge the perfect time to stop the percolation to suit your taste preferences.
- Regular Cleaning: To maintain the best flavor, clean your percolator thoroughly after each use. Residual oils and old grounds can give a rancid taste to your fresh brew. Knowing how to clean a percolator is essential for both taste and hygiene.
- Trial and Error: Finally, don’t be afraid to experiment. Percolator coffee can vary widely based on numerous factors, including the type of coffee, the specific percolator model, and even the altitude at which you brew. Take notes on what works and adjust accordingly.
Common Mistakes to Avoid When Percolating Coffee
Using a coffee percolator can be a rewarding experience, but it's easy to make small mistakes that affect the quality of your brew. Here are some common errors to avoid, ensuring you know exactly how to make coffee in a percolator effectively.
- Using the Wrong Grind: A common mistake is using coffee that's ground too fine. This can lead to over-extraction and a bitter taste. Always use a coarse grind to achieve the best results in your percolator.
- Overfilling the Basket: Adding too much coffee can cause a blockage, preventing the water from percolating properly. This results in weak, under-extracted coffee. Measure your coffee grounds carefully to maintain the right coffee-to-water ratio.
- Boiling the Coffee: How to work a percolator involves maintaining the right temperature. The water should not boil during the percolation process as boiling can scorch the coffee, giving it a burnt taste. Keep the heat medium to low on a stovetop coffee percolator or monitor your electric model for the correct settings.
- Neglecting Cleanup: Failing to clean your coffee percolator after each use can result in oily residue that spoils the flavor of your coffee. Regular cleaning is essential to keep your coffee tasting fresh and delicious.
- Ignoring Brewing Time: Another common oversight is not timing the brew correctly. Percolated coffee typically needs about 7 to 10 minutes, depending on the desired strength. Timing is crucial to avoid weak or overly strong coffee.
- Improper Water Levels: Not using enough water or using too much can dramatically affect how your coffee tastes. Make sure you fill the water up to the marked line in your percolator, usually found on the inside of the water chamber.
By steering clear of these common percolation mistakes, you'll ensure your coffee is always flavorful and enjoyable. Regular maintenance and careful brewing are key to getting the most out of your coffee percolator. For an exceptionally rich and robust flavor, try using Presto Coffee in your percolator.
Conclusion
Brewing coffee with a percolator is about embracing tradition and savoring the deep, rich flavors that this method extracts from your beans. The unique brewing process of a percolator offers a full-bodied taste that stands out, bringing a timeless quality to each cup. With Presto as a companion in your coffee journey, you can elevate this classic brewing experience, enjoying not just the caffeine but the heritage of coffee culture. Revel in the distinct pleasure and satisfaction that only percolator-brewed coffee can deliver.
Frequently Asked Questions
1. What is a coffee percolator?
A coffee percolator is a type of pot used to brew coffee by cycling boiling or nearly boiling water through coffee grounds using gravity until the desired strength is reached.
2. How does a coffee percolator work?
A percolator brews coffee by heating water in the bottom chamber, which then travels up a tube and over a basket of coffee grounds, dripping through to extract flavors repeatedly.
3. What are the types of coffee percolators?
There are two main types of coffee percolators: electric and stovetop. Electric percolators automate the brewing process, while stovetop models offer manual control over heat and timing.
4. How long should you percolate coffee?
Coffee should typically percolate for about 7 to 10 minutes. Adjust the time based on how strong you like your coffee, with shorter times for lighter brews and longer for stronger ones.
5. What grind should be used for a coffee percolator?
Use a coarse grind for percolating coffee to prevent grounds from slipping through the filter and to avoid over-extraction, which can make the coffee bitter.
6. How do you clean a coffee percolator?
Clean your percolator after each use by disassembling it and washing all parts with warm, soapy water. Rinse well and dry to prevent coffee oil buildup, which can affect taste.
7. Can you use regular coffee in a percolator?
Yes, you can use regular coffee in a percolator, but make sure it is coarsely ground to achieve the best flavor and prevent grounds from passing through the filter.
